How to remove audio background noise easily
Fans, traffic, hum, room echo, and microphone hiss can make dialogue difficult to understand. This guide walks through an easy audio cleanup process
A simple cleanup workflow for clearer dialogue and more professional videos
A viewer may forgive a slightly soft image. They are far less patient with dialogue they cannot understand.
Background noise is one of the most common problems in video production because microphones record more than voices. They capture air conditioners, refrigerators, computer fans, traffic, electrical hum, clothing movement, room reflections, and the natural noise created by the recording system itself.
Modern editing software can remove a surprising amount of unwanted sound. The best results still begin with identifying the kind of noise you are hearing.
Listen before reaching for a plugin
Solo the dialogue track and listen through headphones. Find a section where the speaker is silent but the background sound remains. This is often called room tone or a noise sample.
Ask what you are actually hearing:
- A steady hiss may come from microphone gain or a noisy preamp.
- A low hum may come from electricity, cables, or nearby equipment.
- A fan or air conditioner often produces a consistent broadband sound.
- Traffic and voices change constantly and are harder to isolate.
- Room echo is not technically background noise, but it can make speech feel distant and unclear.
- Clipping or distortion cannot usually be repaired as cleanly as steady noise.
This distinction matters because one aggressive noise reduction setting cannot solve every problem.
The fastest method for spoken dialogue
For interviews, voiceovers, and talking-head videos, start with the speech enhancement or dialogue repair tools already inside your editor.
In Adobe Premiere, select the dialogue clip and open the Essential Sound controls. Enhance Speech can quickly improve vocal presence and reduce surrounding noise. The Repair controls can also reduce noise, rumble, hum, and reverb separately.
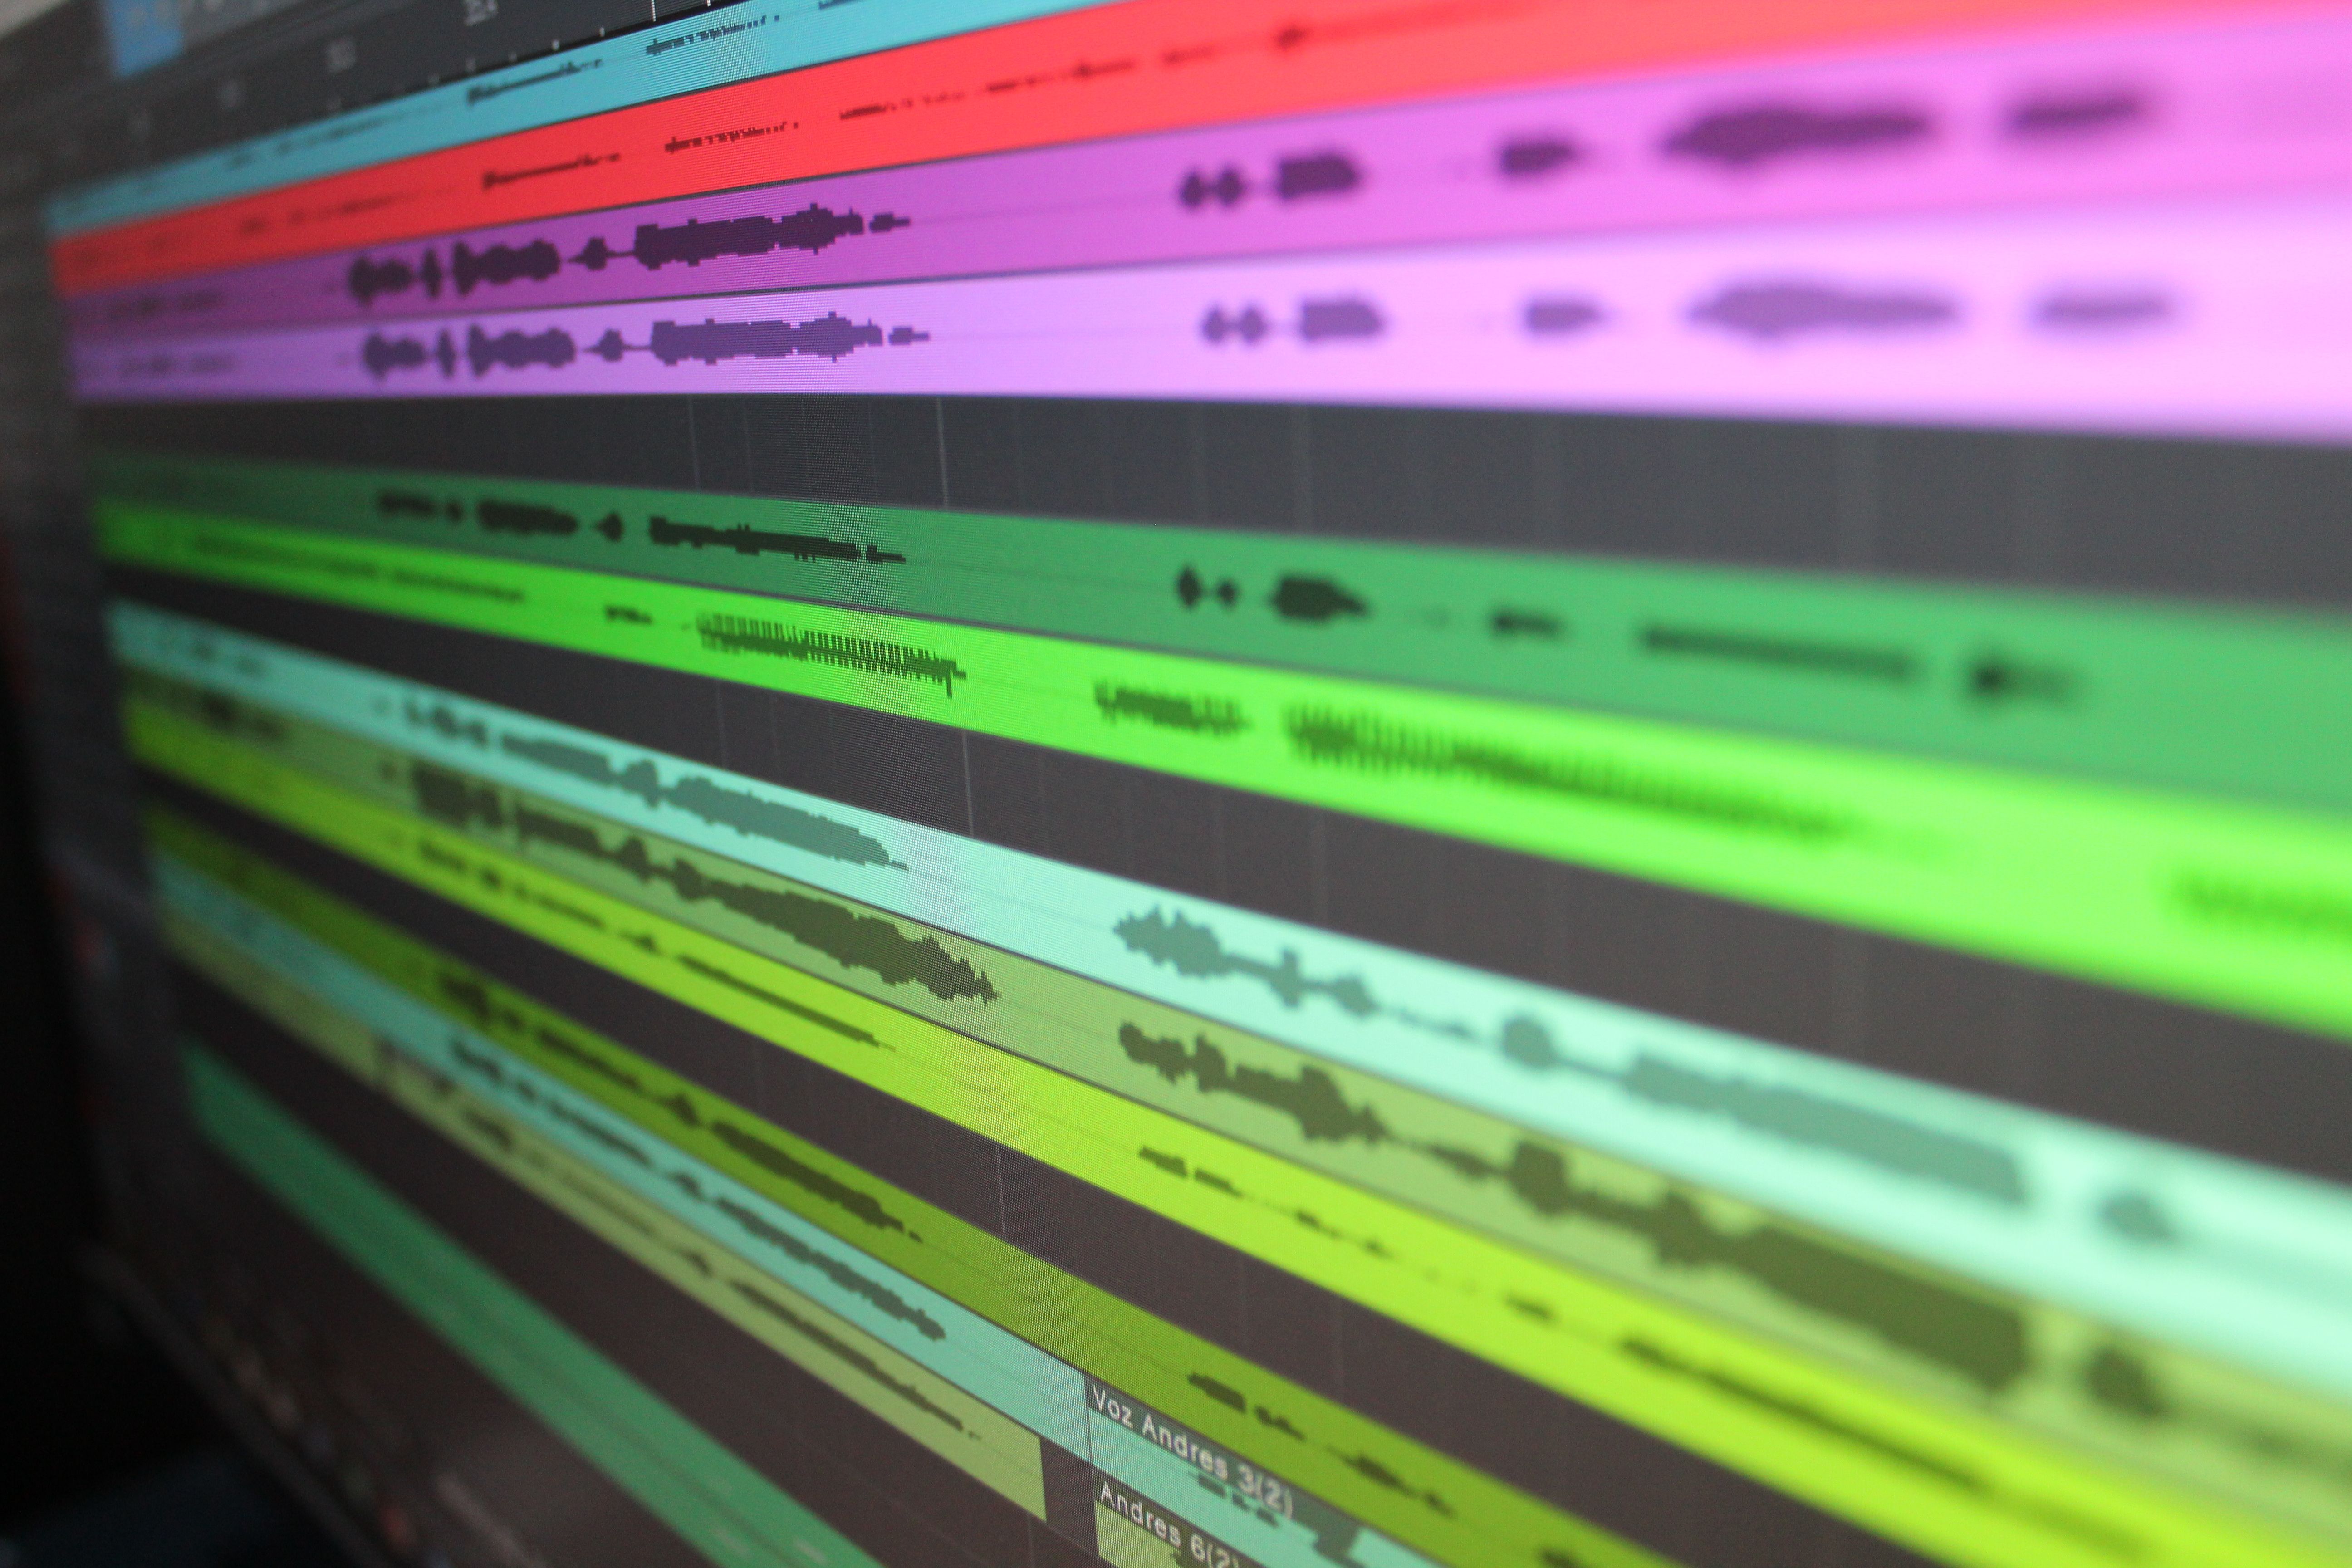
In DaVinci Resolve, the Fairlight page provides dialogue processing, equalization, dynamics, and noise reduction tools. Adobe Audition offers more detailed waveform and spectral editing when a problem needs precise repair.
Whatever software you use, begin with a moderate setting. Listen to the consonants, breaths, and ends of words.
When the voice begins to sound watery, metallic, hollow, or unnaturally smooth, the processing is too strong.
Use this cleanup order
A clean workflow is often more effective than applying every available effect at once.
1. Remove obvious low-frequency rumble
Use a high-pass filter to reduce frequencies below the useful range of the voice. This can clean up handling noise, distant traffic vibration, and air movement.
Do not push the filter so high that the speaker loses warmth. A deep voice may need more low-frequency information than a lighter voice.
2. Reduce steady noise
Apply noise reduction to the fan, hiss, or room sound. Increase the amount slowly while looping a sentence. Stop before the voice begins to break apart.
The goal is not always perfect silence. A small amount of natural room tone often sounds better than an aggressively processed voice surrounded by digital artifacts.
3. Address hum
Electrical hum usually appears at a specific frequency and related harmonics. A hum removal tool or narrow equalizer cut can reduce it without removing as much of the voice.
4. Reduce reverb carefully
De-reverb tools can bring a distant voice forward, but they can also create strange tails and phase-like artifacts. Use them lightly.
Severe echo is often better handled by combining moderate processing with music, room tone, or carefully selected alternate takes.
5. Improve clarity and consistency
After reducing the unwanted sound, use gentle equalization and compression. EQ can reduce muddiness or add presence. Compression controls large volume changes so the dialogue remains understandable.
Noise reduction should come before heavy compression because compression can raise the remaining background sound.
Clean the spaces between sentences
Even after processing, noise may be more noticeable during pauses. Instead of cutting every silent section to complete silence, lower those areas with clip gain or automation.
A noise gate can help, but hard gating often sounds distracting because the room suddenly disappears every time the speaker stops talking. A smoother downward expander or carefully drawn volume automation usually sounds more natural.
Keep a consistent room tone beneath dialogue edits. This hides cuts and prevents the background from changing abruptly between sentences.
What if one-click enhancement sounds artificial?
Blend the processed version with the original. Many enhancement tools include a mix control. Pulling the effect back can preserve the speaker’s natural texture while still improving clarity.
You can also divide the work between several lighter processes. A small amount of noise reduction, a subtle EQ adjustment, and gentle compression often sound better than one extreme effect.
For difficult recordings, duplicate the original file before making destructive changes. That gives you a clean reference and makes it easier to compare your progress honestly.
Prevent the problem during production
Audio repair is useful, but recording cleaner sound is faster.
Move the microphone closer to the speaker. Turn off fans, refrigerators, and unnecessary equipment when possible. Choose soft rooms with curtains, furniture, rugs, or acoustic treatment.
Monitor with headphones before recording the full interview. Record at healthy levels without clipping.
Most importantly, capture at least thirty seconds of room tone. That sound can fill gaps, smooth edits, and help noise reduction tools identify the environment.
Clean audio does not require total silence. It requires a voice that remains clear, natural, and consistent. Use technology to support the recording rather than forcing every clip to sound like it was captured in a perfect studio.
.png)
Subscribe to our newsletter
Join our newsletter and receive thoughtful content designed to help you communicate your mission, strengthen your brand, and make a lasting impression.