How to build an affordable pro studio for your videos
You can create a reliable home or small-business video studio without a massive budget.
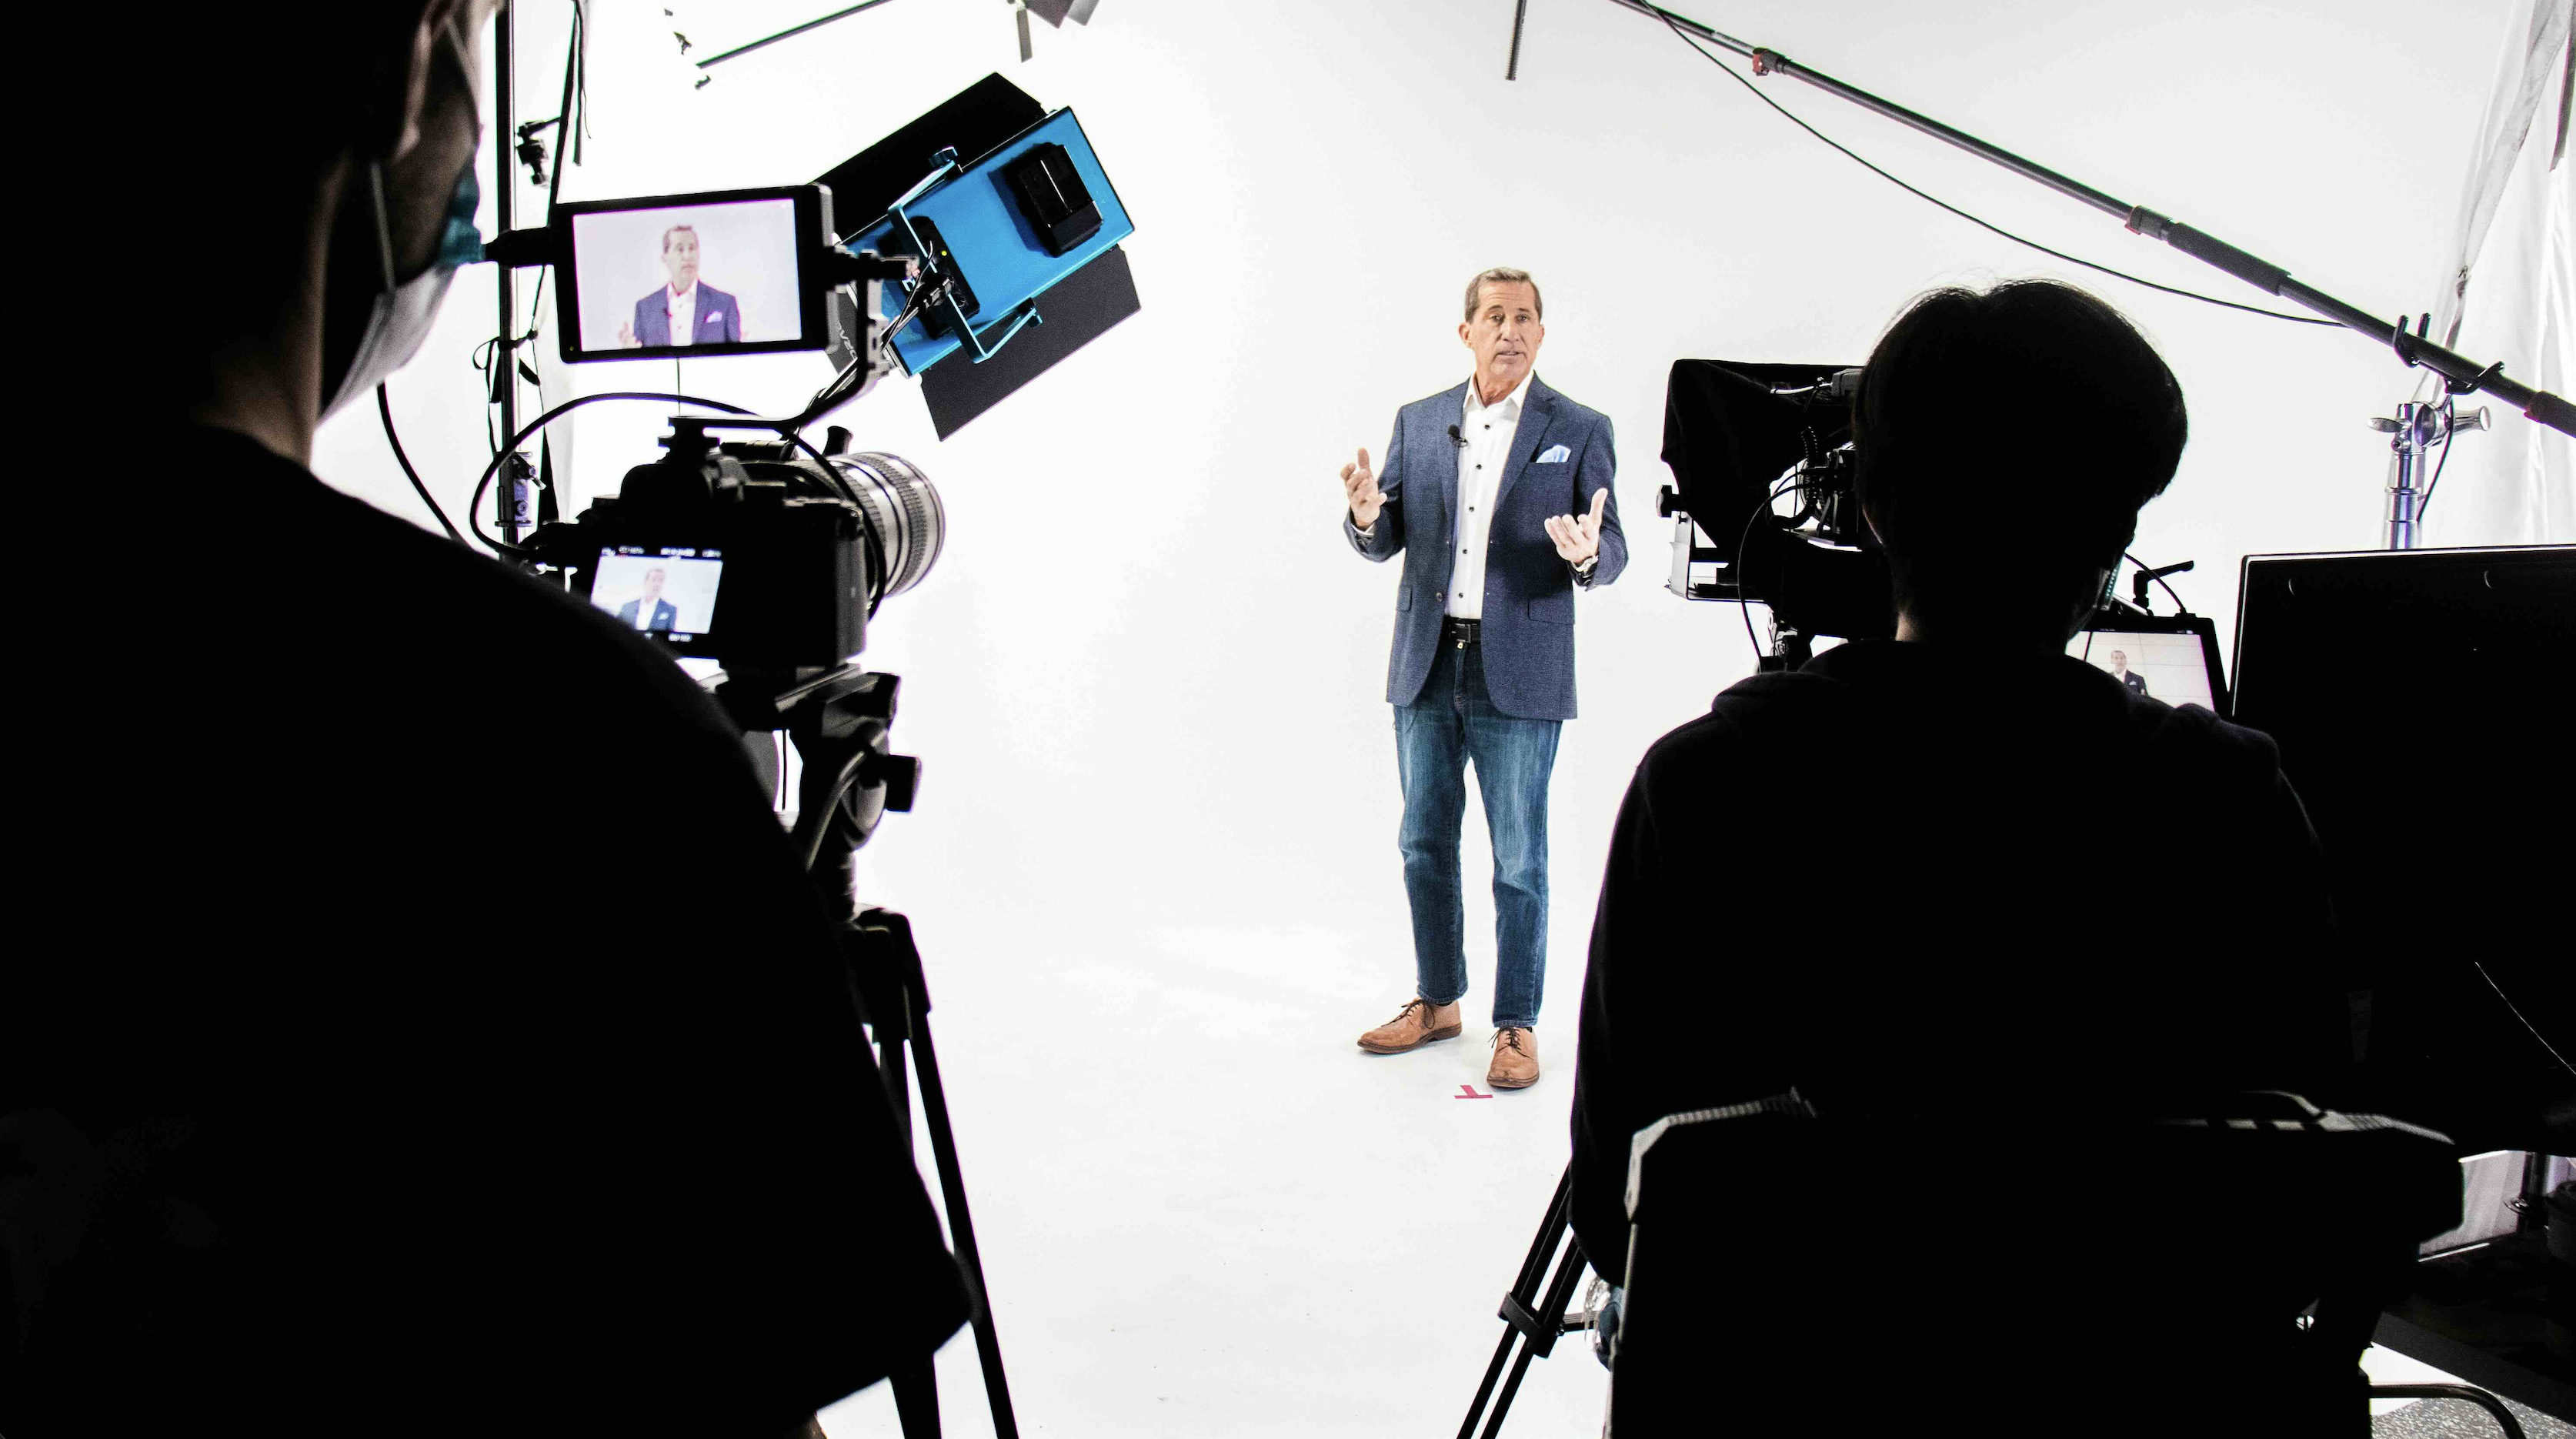
Create a polished, repeatable production space without buying everything at once
An affordable professional video studio is not a room filled with equipment. It is a space where you can control the image and sound well enough to create consistent results.
That distinction can save you thousands of dollars.
Many creators buy a new camera first, then place it in a noisy room under mixed overhead lighting. The footage may be sharper, but it still does not feel professional.
A modest camera in a controlled environment will often produce a stronger result.
Build the room in layers. Solve the problems that affect every recording before buying tools that only improve special situations.
Choose the right room
Start with the quietest space you can control.
Listen for heating systems, traffic, refrigerators, plumbing, computers, and nearby conversations.
Check how the sunlight changes during the hours you expect to record. Look for enough distance between the subject, camera, and background.
A small room can work, but placing the subject directly against a wall often creates flat lighting and distracting shadows. More distance gives you better separation and makes the background easier to shape.
Avoid choosing a room only because it looks empty. An empty room with hard walls may create severe echo.
Furniture, curtains, rugs, bookshelves, and soft materials can make an ordinary room easier to record in.
Spend on sound before camera upgrades
Viewers may accept an older camera. They will leave when the audio feels distant or difficult to understand.
A microphone placed close to the speaker is usually the most important purchase. Depending on the studio, that may be a lavalier microphone, a shotgun microphone positioned just outside the frame, or a dynamic microphone for podcast-style content.
Do not place a shotgun microphone on top of the camera across the room and expect intimate dialogue. Distance weakens the voice and increases the amount of room sound.
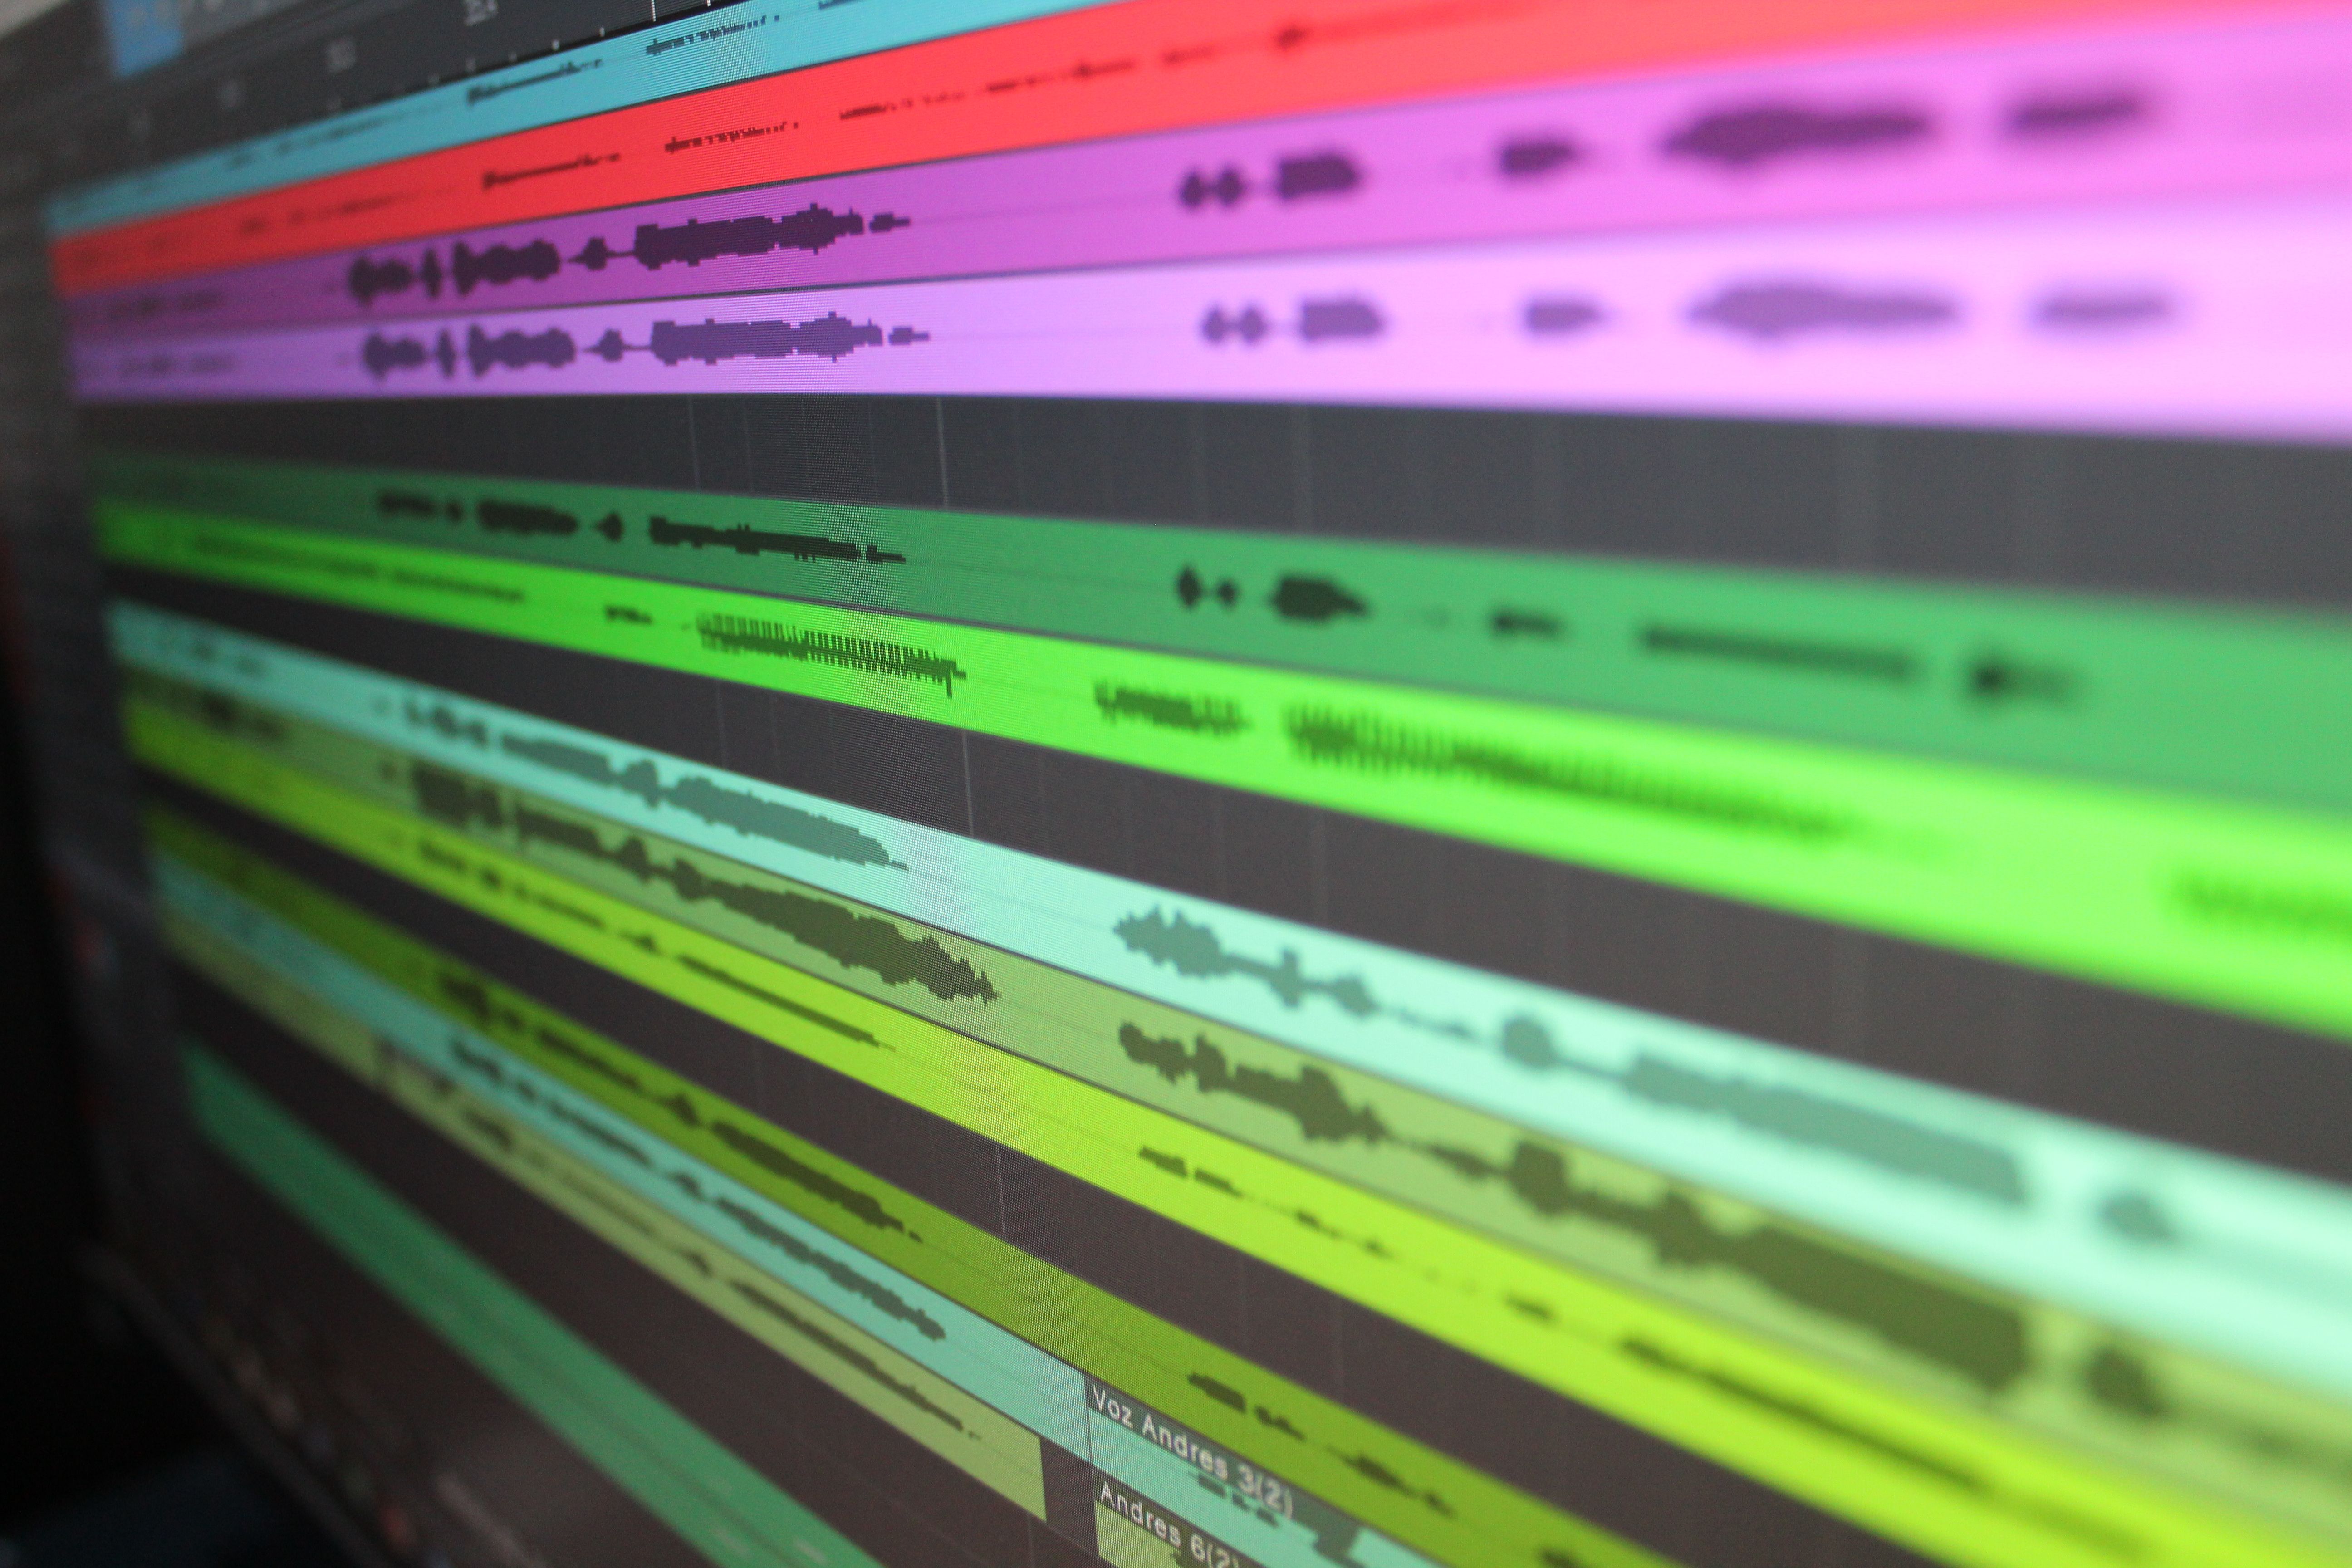
Monitor every recording with headphones. Record a test, listen for hum and echo, then adjust before filming the full segment.
For treatment, begin with practical changes. Add a rug, close curtains, move blankets outside the frame, or place absorption near the speaker and the nearest reflection points.
Thin decorative foam may reduce high-frequency reflections, but it will not solve every acoustic problem. Use treatment to control reflections, not to make the room completely dead.
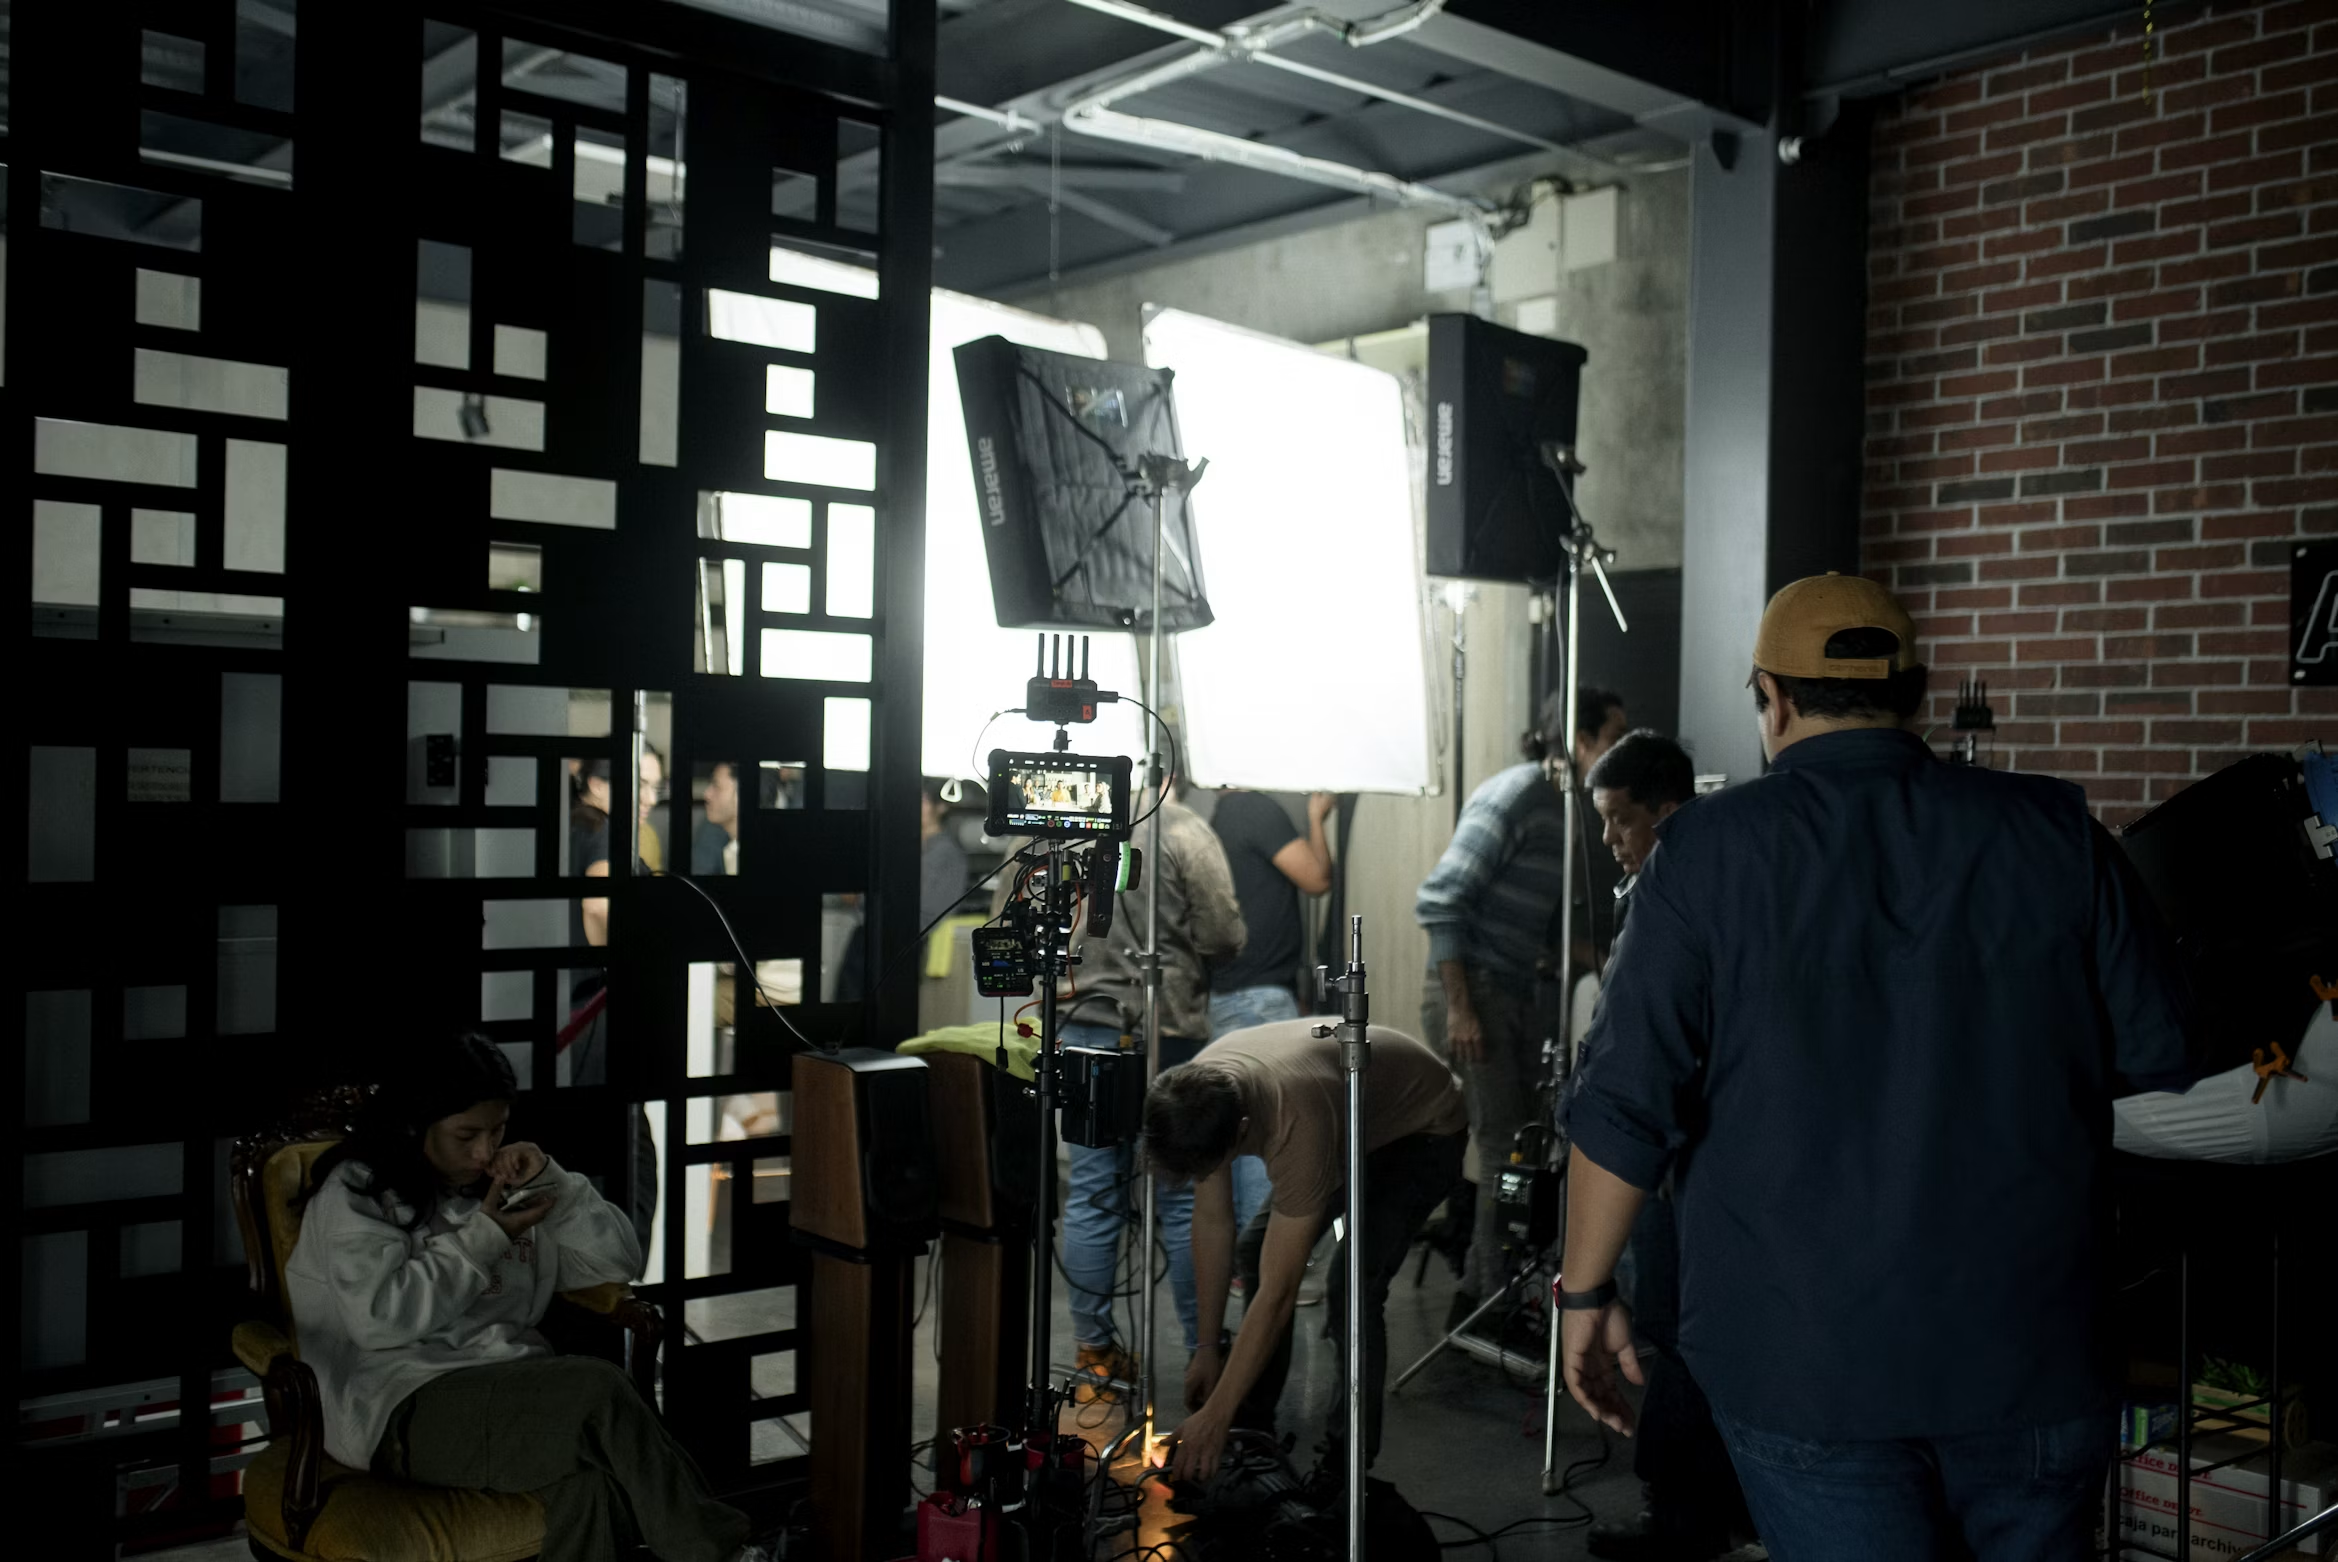
Build one strong lighting setup
You do not need a ceiling full of lights. Begin with one controllable key light.
A soft light placed to one side of the camera can create shape while remaining flattering. A softbox, diffusion, or bounce source increases the apparent size of the light and softens shadows.
Turn off overhead fixtures if they create unflattering shadows or mixed color temperatures.
Use a reflector, white wall, or foam board to lift the darker side of the face. Add negative fill with a black cloth or flag when the room is reflecting too much light back onto the subject.
Once the key light is working, decide whether the frame truly needs another fixture. A small background light, practical lamp, or rim light can add separation.
It should support the composition rather than announce that the room owns several lights.
Mark the stand and chair positions with removable tape. This makes the setup repeatable.
Design a background with depth
A professional background should support the subject without competing for attention.
Start with what the video needs to communicate. A business interview may benefit from an office, workspace, branded element, or subtle environmental detail.
Educational videos may need a cleaner frame that leaves room for graphics. A creative channel may use stronger texture or color.
Separate the subject from the background. Use layers at different distances. Remove small distractions near the edges of the frame. Control bright windows and reflective surfaces.
You can build an effective background with existing furniture, a lamp, plants, shelves, fabric, or a paper backdrop.
The key is intention. Every visible object should feel chosen.
Use the camera you can operate confidently
Modern mirrorless cameras, camcorders, webcams, and phones can all work in a controlled studio. The best option is the one that meets your delivery needs and can record reliably for the required length.
Prioritize manual exposure, consistent white balance, clean audio input or synchronization, and dependable power.
A fast lens can help in low light, but it does not replace lighting. Extremely shallow depth of field can also create focus problems when the subject moves.
Place the camera near eye level. Choose a focal length that avoids distortion and gives the subject comfortable space in the frame.
Lock focus when appropriate or test autofocus thoroughly.
Use AC power, a dummy battery, or enough charged batteries for the session. Long recordings fail for simple reasons more often than cinematic ones.
Do not ignore support and safety
Stands, clamps, cables, sandbags, power strips, and storage are not exciting purchases. They make the studio safer and faster.
Secure cables away from walking paths. Weight light stands. Avoid overloading outlets. Leave ventilation around hot equipment.
Store frequently used items where they can be reached without rebuilding the room.
Create a short startup checklist:
- Close doors and silence devices.
- Turn off unwanted appliances.
- Set the chair and camera marks.
- Confirm lighting and white balance.
- Check microphone placement.
- Record and review a test.
- Verify storage space and power.
This checklist protects consistency when several people use the studio.
A smart order for building the studio
When the budget is limited, improve the space in this order:
- Room choice and basic sound control
- Microphone and monitoring headphones
- One quality key light with diffusion
- Stable camera support
- Intentional background
- Reliable power and media
- Additional lights or camera upgrades
This order may not create the most exciting unboxing video, but it creates better productions.
A professional studio is a system you can repeat. When the sound, lighting, framing, and workflow stay dependable, you can focus on the person and the message instead of rebuilding the production from zero every time.
.png)
Subscribe to our newsletter
Join our newsletter and receive thoughtful content designed to help you communicate your mission, strengthen your brand, and make a lasting impression.